fbpx Satin Finishing Wax | General Finishes

Satin Finishing Wax

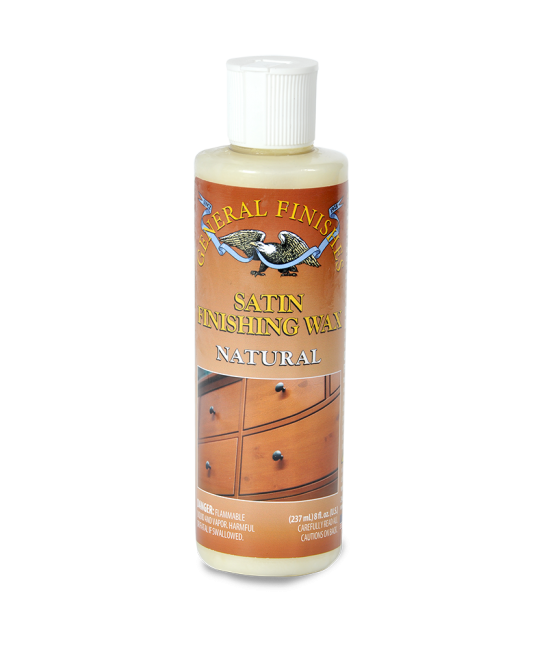
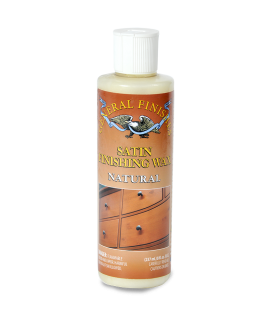
Satin Finishing Wax is a special blend of waxes designed to give finished woods a rich luster. It can be used as a polish for rubbing out new finishes or as a scratch-remover for worn surfaces. It works well over both oil- and water-based finishes, including Danish Oil. We recommend a wet-sanding process followed by buffing to a soft silky sheen.

Find A Store Compare Similar Products
General Finishes Satin Finishing Wax, 16 oz Bottle

Instructions

How To Apply General Finishes Satin Wax

General Finishes Satin Wax Application Steps

Light Polishing:

  1. Shake container well.
  2. Wipe on a thin, even coat with a clean cloth.
  3. Let sit 10 minutes.
  4. Polish with a soft cloth, wiping away the excess in the direction of the wood grain.

Buffing A Topcoat To A High Gloss:

  1. Shake container well.
  2. Wipe on a thin, even coat with a clean cloth.
  3. Let sit 1-2 minutes.
  4. Buff off excess with a buffing or sanding pad (see below) in the direction of the wood grain. The higher/finer grit you use, the easier it will be to achieve a high-gloss finish.
  5. Buffing Tools:
    1. Norton Abrasives, Yellow Block
      • 1000-grit, 1500-grit, 2000-grit
      • Creates a high-gloss finish
    2. Klingspor Fusion Pads
      • 2800- to 3500-grit
      • Ideal for painted and gloss finishes
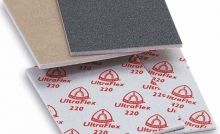
    3. Klingspor Superfine Sanding Pad
      • 220-grit
      • General purpose option for rubbing out topcoats and paints with a flat or satin sheen
    4. Merka Mirlon Pads
      • Total 1500 (gray)
      • Total 2500 (gold)
      • Ideal for oil-based finishes or between coats of paint

Fixing A Scratch:

  1. Shake container well.
  2. Do not sand "dry-on-dry" to remove scratch marks.
  3. Add Satin Wax as a lubricant on the pad AND on the surface of your project, then spread smooth with a rag.
  4. Let sit 10 minutes.
  5. Polish with a soft cloth, wiping away the excess in the direction of the wood grain.

Storage of Maintenance Products

Life of Product
Maintenance products are best used within 1 year of the manufacture date listed on the bottom of the can. The following best practice will increase the life of your product:

Store in moderate temperatures. Avoid temperatures above 80°F/26°C. Heat-damaged product cannot be revitalized. Temperature-controlled spaces, such as a basement, are ideal for storage. Do not store product in an attic, garage, in direct sunlight, or next appliances with heat or flame such as a furnace.

Warnings, Personal Protection & Warranties

Compatibility
Do not use water-based products with Linseed Oils or Danish Oils.

Limited Warranty
General Finishes products must be tested to your complete satisfaction before using. General Finishes will not be responsible for color satisfaction, misapplication, nor compatibility with other manufacturers' products. General Finishes will be responsible only for the cost of our products, and not for costs such as labor, damage or project replacement. 

Contamination and Compatibility
Our finishes are engineered as a system and are compatible with each other. General Finishes cannot guarantee an ideal refinish when applying our products on top of or combined with another company's products or over surfaces that have been in contact with waxes, polishes or sprays containing contaminants such as silicone. Test for adherence and aesthetics before beginning. 

Warning
If you scrape, sand, or remove old paint, you may release lead dust. LEAD IS TOXIC. EXPOSURE TO LEAD DUST CAN CAUSE SERIOUS ILLNESS, SUCH AS BRAIN DAMAGE, ESPECIALLY IN CHILDREN. PREGNANT WOMEN SHOULD ALSO AVOID EXPOSURE. Wear a NIOSH-approved respirator to control lead exposure. Clean up carefully with a HEPA vacuum and a wet mop. Before you start, find out how to protect yourself and your family by contacting the National Lead Information Hotline at 1-800-424-LEAD or log onto www.epa.gov/lead.

FIRST AID:
Seek immediate medical attention if symptoms occur due to the following. EYE CONTACT: Remove any contact lenses. Flush eyes with water for 20+ minutes while lifting upper and lower eyelids. SKIN CONTACT: Wash thoroughly after handling. INHALATION: Move to fresh air and loosen clothing. If not breathing, if breathing is irregular or if respiratory arrest occurs, provide artificial respiration or oxygen by trained personnel. INGESTION: Call physician immediately. Wash out mouth with water. Do not induce vomiting unless directed to do so by medical personnel. Never give anything by mouth to an unconscious person. 

Warning
This product contains a chemical known to the State Of California to cause cancer and birth defects. Do not swallow; first aid: drink water to dilute product. May cause eye or skin irritation; first aid: flush eyes thoroughly with water.

Warning
Keep out of reach of children. Avoid contact with eyes. Keep container tightly closed when not in use. Wash thoroughly after handling.

PERSONAL PROTECTION DURING USE:

Hand protection
Chemical-resistant, impervious gloves complying with an approved standard should be worn at all times when handling chemical products if a risk assessment indicates this is necessary. Considering the parameters specified by the glove manufacturer, check during use that the gloves are still retaining their protective properties. It should be noted that the time to breakthrough for any glove material may be different for different glove manufacturers. In the case of mixtures, consisting of several substances, the protection time of the gloves cannot be accurately estimated.

Eye/face protection: Safety eyewear complying with an approved standard should be used when a risk assessment indicates this is necessary to avoid exposure to liquid splashes, mists, gases or dusts. If contact is possible, the following protection should be worn, unless the assessment indicates a higher degree of protection: safety glasses with side-shields.

Respiratory protection:
Based on the hazard and potential for exposure, select a respirator that meets the appropriate standard or certification. Respirators must be used according to a respiratory protection program to ensure proper fitting, training, and other important aspects of use.

Body protection Personal protective equipment for the body should be selected based on the task being performed and the risks involved and should be approved by a specialist before handling this product.

Environmental exposure controls:
Emissions from ventilation or work process equipment should be checked to ensure they comply with the requirements of environmental protection legislation.

Appropriate engineering controls:
Good general ventilation should be sufficient to control worker exposure to airborne contaminants.

Hygiene measures: 
Wash hands, forearms and face thoroughly after handling chemical products, before eating, smoking and using the lavatory and at the end of the working period. Appropriate techniques should be used to remove potentially contaminated clothing. Wash contaminated clothing before reusing. Ensure that eyewash stations and safety showers are close to the workstation location.
 

Other skin protection: Appropriate footwear and any additional skin protection measures should be selected based on the task being performed.

Specifications

Basic Features
Product Colors Clear
Ambering No
Interior or Exterior Interior
Type Accent Wax
Application
Application Method Wipe On with Clean Rag
Usable over existing finishes Yes
Sprayable No
Contents
Can Sizes 8 oz. bottles
Technical Data
VOC US VOC
645.446 g/L

FAQs

Satin Finishing Wax FAQs

*How Should I Clean My Finished Project?

After your finish has cured, the best way to clean is with a water-damp rag. If your surface requires deep cleaning due to grease or grime build-up, add a speck of a strong dish detergent, such as Dawn or a bit of vinegar to your damp rag.

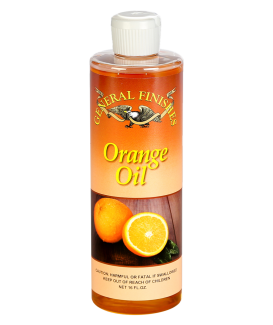
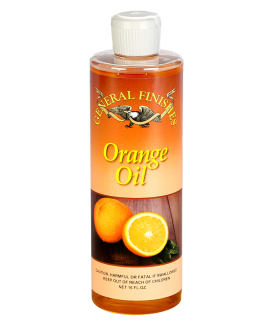
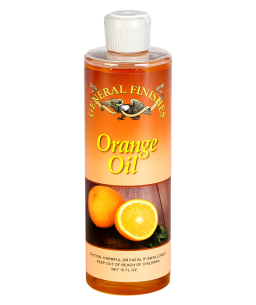
If need deeper cleaning, use General Finishes Orange Oil Polish.

Avoid using oil-soap or silicone-based daily cleaners or dusting sprays These products and the chemicals in other cleaners can contaminate your finish, preventing adhesion of future finishes. 

NOTE: Do not clean furniture until the finish has cured completely. 

Cure Time Guidelines: 

  • Water Based Finishes: 21 days
  • Oil Based Finishes: 30 days 


Relevant Videos

*How Do I Buff Out High Performance Water Based Topcoat to a High Gloss?

There are several techniques by Jeff Jewitt of Homestead Finishing Products:

DRY BUFF WITH MIRKA ROYAL MICRO PAPER.

Using Mirka Royal Micro sandpaper, always start with 1500-grit sandpaper. Begin with a small area, make 2-3 passes, then evaluate results. Go to a heavier grit if surface irregularities are not fully removed. Finish with 1500-grit paper.

DRY/WET BUFF WITH ABRALON POLISHING DISCS.

Start by dry sanding with Abralon 2000-grit, and then 4000-grit. Start slowly, monitor to see if buildup is occurring. A large sized table might take 5-25 sheets of paper.

If needed, lubricate by moistening with General Finishes Satin Finishing Wax, mineral spirits, or naphtha. Never use water as a lubricant.

If lubricated, one sheet of 1000-grit or 1500-grit should do the entire table.

BUFFING/POLISHING WITH PRESTA POLISHING KITS.

Spray Presta polish on buffing pad stuff to lubricate the pad. Apply a quarter-sized dab of polish to sand one section. Spread with pad. Continue section by section. Mist buffing pad with Presta lubricating material when it gets too dry. You should be able to use a buffing pad on 10-20 tables before washing and reusing.
 
When done, mist entire surface with and buff with a micro-cloth to remove splatter

NOTE: Never wet sand a water-based finish.

*How Do I Remove Wax from an Existing Finish?*

There is more than one way to remove wax from an existing finish, but none guarantee success. Nothing adheres well to wax and even after cleaning, the wood grain can become contaminated. Wax can penetrate the wood, making future paint or stain finishes or touch-ups difficult or impossible. Sanding down the finish can drive the wax even deeper because the friction of sanding heats up the wax.

Techniques on how to remove wax are listed below. However, the risk of a failure in recoating over a wax finish is high.

  1. Scrub with a solvent, such as mineral spirits, to break the wax barrier. Follow with several applications of Acetone applied with gray scotch bright pads to scrub the surface.
  2. Mix a solution of equal parts white vinegar and water. Dampen a soft, lint-free cotton cloth with the solution and wipe the surface of the table to break down and remove the wax buildup. Follow the grain of the wood with each stroke. Replace the cloth with a new one as the wax buildup transfers to the cloth to prevent it from being redeposited onto the table. Dry the surface with a clean, dry lint-free cloth after wiping it down to prevent moisture from damaging and staining the wood.
  3. Mix a solution of 1 cup of white vinegar and 1 tablespoon of cream of tartar to make a natural abrasive cleaner. Dampen a soft cotton cloth with the solution and gently wipe the wax off in the direction of the wood grain. Rinse the surface by lightly dampening a cloth in plain water and wiping the surface of the wood. Then, wipe dry with a clean dry cloth.

After cleaning, test your new finish to ensure adhesion.

NEVER guarantee a finish applied over wax. Here is a suggestion for your contracts:

We cannot warrant finishes over an existing piece of furniture. If products containing silicone (such as dusting sprays), oil soaps or waxes have been previously used on the piece, they may contaminate a new finish and prevent adhesion. In these situations, it is best to strip and sand the entire piece. Occasionally, a previous wax finish or silicone may be impossible to completely remove.

________ (Initials) I acknowledge that this piece has never been waxed/polished with a silicone-based dusting spray or cleaned with oil soaps. 

________ (Initial) I have no knowledge of previous cleaning products used but realize they may have been applied by previous owners.

Related Products

Relevant Videos

*Which Is Better as a Sealer? Topcoat or Wax?

It depends on whether you are looking for aesthetics or durability.

A topcoat will provide greater durability and protection than wax finishes over time.

While wax finishes are lovely, they typically show wear (fingerprints) and are not permanent, requiring semi-annual to annual maintenance.

Wax is a low durability finish. It’s fine for a decorative piece that will receive light traffic. It is absolutely not strong enough for tables, kitchen cabinets, or other surfaces that will see frequent use.  

Wax takes a bit of elbow grease to apply.

Furthermore, nothing adheres well to wax, which can impact future finish changes. Even though there is internet chatter about removing wax with 3rd party products or mineral spirits, the risk of a failure in re-coating over a wax finish is very high and sometimes impossible.

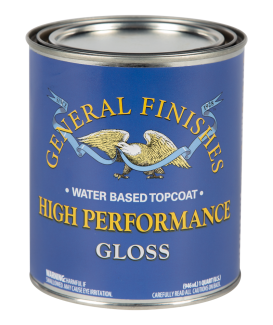
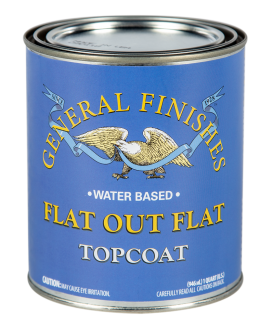
If you love a wax finish, try General Finishes Satin Finishing Wax. If you want the look and feel of wax with more durability, use our General Finishes Flat Out Flat Topcoat. For even more protection, use General Finishes High Performance Topcoat.


Can Gel Stain be sealed with wax instead of top coat?

Wax can be used over Gel Stain, if you prefer. Just let the Gel Stain dry 24-48 hours before applying the wax. Note: wax is not a durable product. It needs yearly reapplication, will show daily use (finger marks and smudges) and may be very difficult to remove if a future topcoat application is desired.

Relevant Videos

Can Glaze Effects be sealed with wax instead of top coat?

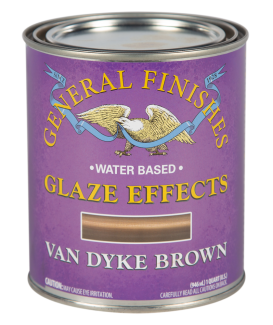
Yes, you can use Satin Wax instead of top coat if you prefer. Although GF loves the look of wax, we recommend using top coat because wax is not as durable. Wax requires annual maintenance and it must be removed if you want to apply topcoat in the future.

Relevant Videos

Can Satin Finishing Wax be tinted?

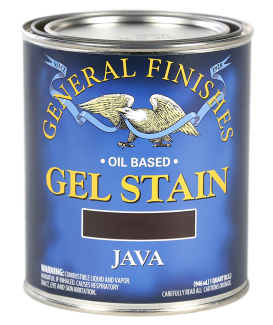
You can tint with any of General Finishes Oil-based Gel Stains or Liquid Oil Based stains to create a dark wax.

Relevant Videos

Should I Use Satin Wax to Seal My Kitchen Cabinets?

You can...we do we do believe that wax can be a beautiful addition to many projects. However, it is best not to use wax in high-use temperature-dependent situations like kitchens or bathrooms. Furthermore, kitchen cabinets require long-term protection and high-quality resistance to wear. Wax provides far less protection and durability than an engineered resin based top coat like High Performance or any of our professional Enduro Spray finishes. A particular problem are range hoods and dishwasher panels - wax cannot stand up to the heat and may melt and run.

Wax finishes typically show wear (ex: fingerprints) and require semi-annual to annual maintenance. Furthermore, touch-ups or changes are impossible once wax has been added to the surface because no finish will adhere well to wax. Even though there is internet chatter about removing wax with 3rd party products or mineral spirits, the risk of a failure in re-coating over a wax finish is very high. Resin-based topcoaats can be removed or covered with a new finish without a problem if you ever decide to touch-up or refinish your cabinets in the future.


Related Products

Relevant Videos