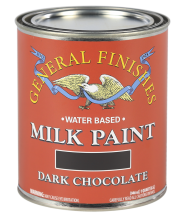
 Milk Paint
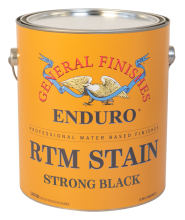 Enduro Ready to Match (RTM) Water Based Stain
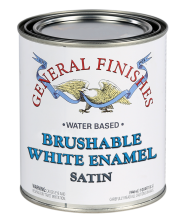 Brushable White Enamel
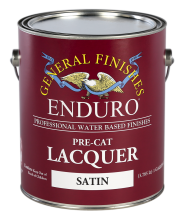 Enduro Pre-Cat Lacquer
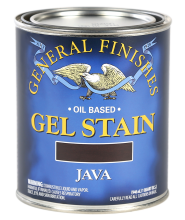 Gel Stains
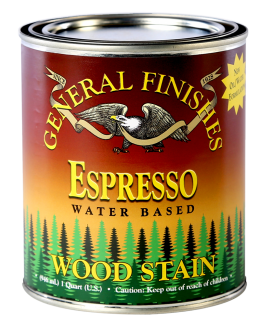
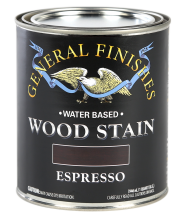 Water Based Wood Stain
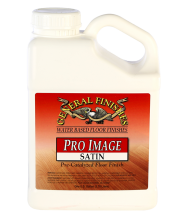 Pro Image Flooring Topcoat
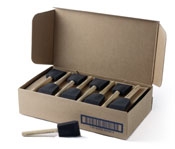 Jen Poly Brushes
 Stir Stix
 Ultraflex Softback Sanding Sponge
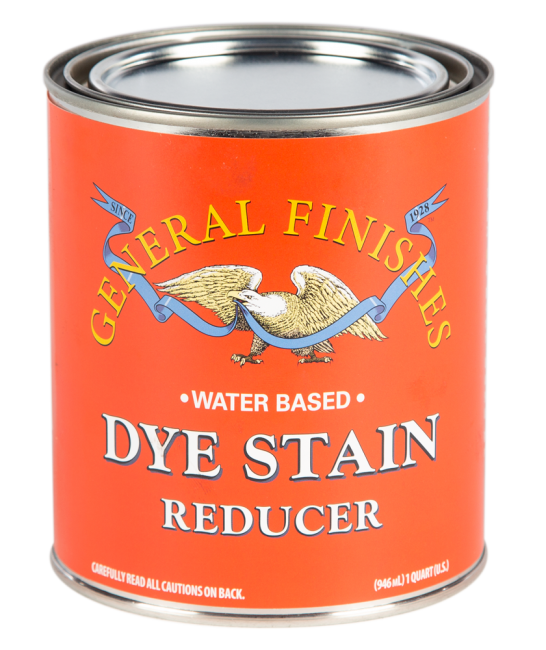
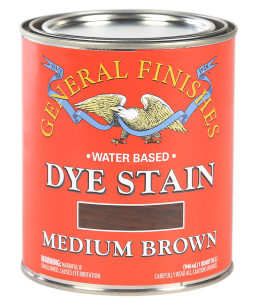
General Finishes Dye Stain Reducer is the clear base we add dye to when manufacturing our Dye Stains.
Creating A Custom Color
Add 10% increments of Dye Stain Reducer to General Finishes Dye Stain Reducer or General Finishes Water Based Wood Stain until you achieve your desired color. Any percentage of stain or reducer can be added.
NOTE:
- Dye Stain Reducer will lighten the color and thin the viscosity of stain.
- Dye Stain Reducer will cause Water Based Wood Stain to penetrate deeper into the wood.
Using Dye Stain as a Pre-Stain Conditioner
Control even penetration of Dye Stain by applying a coat of Dye Stain Reducer over raw wood before using Dye Stain.
Mixing Dye Stain Reducer with Another Manufacturers' Dyes
You can successfully mix other manufacturers' dyes, such as TransTint dye concentrate, sold in many woodworking stores.
Always test your entire procedure, preparation through to topcoat, for adhesion and aesthetics on a hidden area of your project before mixing or layering products made by different manufacturers.
Dry Time
Dry 2+ hours between coats & before GF water-based stain or topcoat in ideal conditions: 70°F/20°C; 50-70% humidity. Cooler temperatures & higher humidity may prolong dry time. Dry 24+ hours before applying GF oil-based products.
Do NOT Use Water to Lighten General Finishes Dye Stains.
Dye Stain Reducer has ingredients that help keep color molecules dispersed evenly in the can.
Warning: Do not use water-based products with Linseed Oils or Danish Oils.
 SDS: Dye Stain: Reducer - 2019-08