You can design your own custom glazes, stains, washes, and varnishes with General Finishes intermixable water-based products. See tips and recipes below.
For all of the following mixes, GF recommends the following two steps:
- Applying a base layer of High Performance Top Coat before applying your custom glaze.
- Protect all of these finishes with 2-3 coats of top coat when you are finished.
PASTEL GLAZE/WHITEWASH:
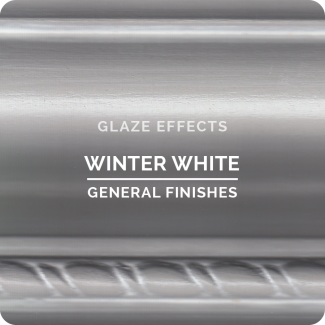
Milk Paint + Winter White Glaze Effects OR Milk Paint + Water Based Whitewash Wood Stain
NOTE: Do not add more than 50% paint. If you add more than 50% you will have so much pigment that it will be difficult to wipe away the finish.
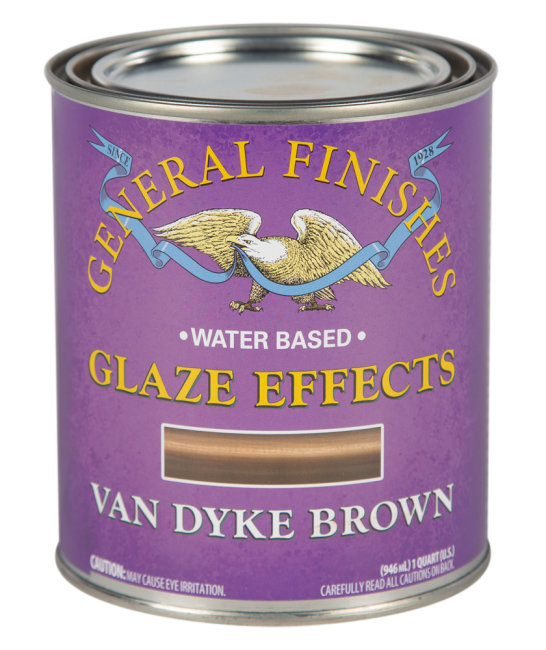
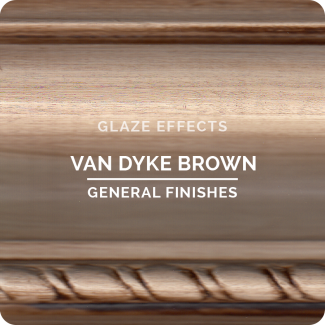
CUSTOM GLAZE:
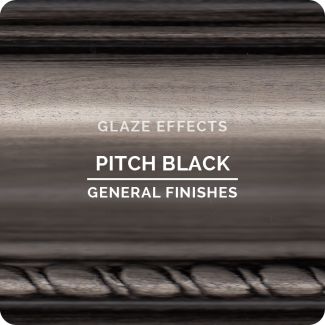
For example, Pitch Black Glaze Effects + Winter White Glaze Effects
Experiment with proportions and colors.
WOOD STAIN AS A GLAZE:
Water Based Wood Stain + 10% High Performance Top Coat
OR
Oil Based Wood Stain + 10% Mineral Spirits
Note: Make sure that you wait 72 hours before applying a water-based topcoat on top of an oil-based stain.
AGED/VARNISH GLAZE:
Water Based Wood Stain + High Performance Top Coat 50:50 ratio
OR
Dye Stain + High Performance Top Coat 50:50 ratio
CUSTOM STAIN COLORS:
1 part Milk Paint + 1 part Pre-Stain Natural [50:50 mix]
OR
1 part Milk Paint + 1 part Glaze Effects - Clear Base [50:50 mix]
OR
1 part Milk Paint + 2 parts Water Based Stain Natural [1:2 parts]
Note: Proportions are relative to the color you are reducing. Some colors may require 2 parts clear base to reduce strength, others may require 1. Begin with a 50:50 mix, and add more clear base if necessary.
You can further increase the color palette by mixing 2 or 3 Milk Paint colors together before adding the clear base.
 Milk Paint
 Brushable White Enamel
 Enduro Ready to Match (RTM) Water Based Stain
 Enduro Pre-Cat Lacquer
 Gel Stains
 Water Based Wood Stain
 Pro Image Flooring Topcoat
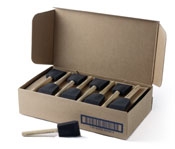 Jen Poly Brushes
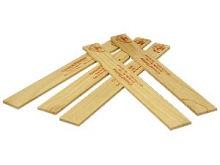 Stir Stix
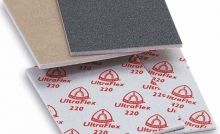 Ultraflex Softback Sanding Sponge
 Brochure: Pearl Effects & Glaze Effects - 2019