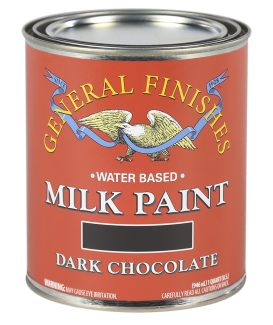
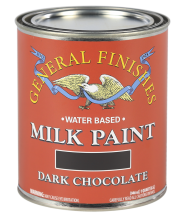
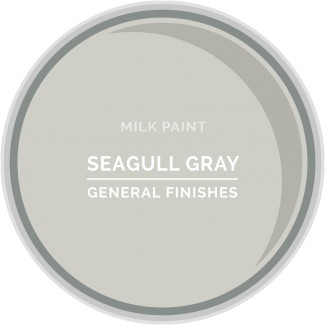
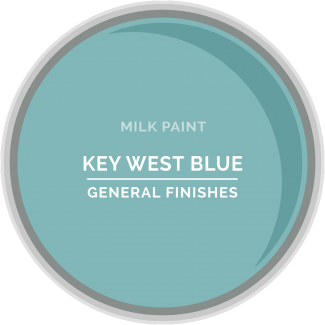
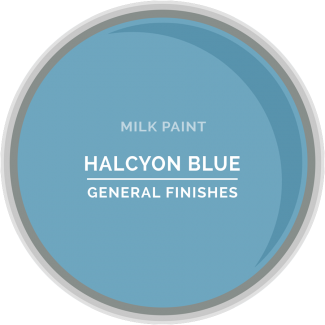
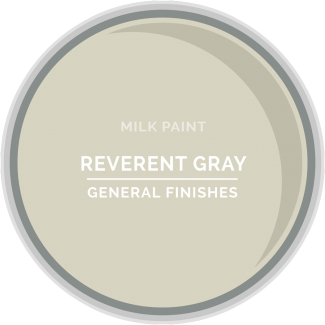
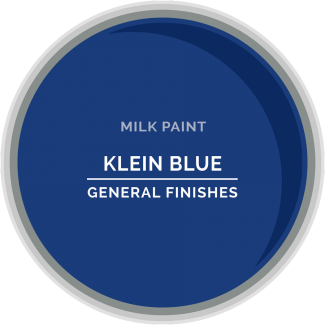
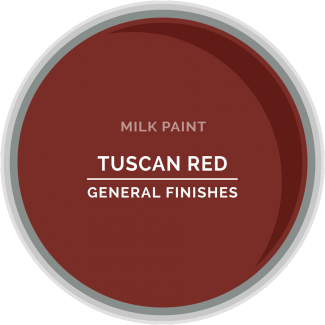
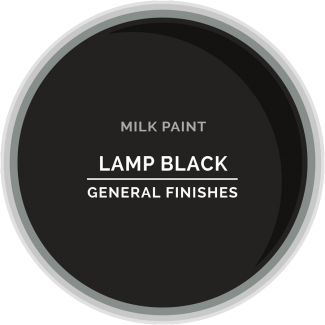
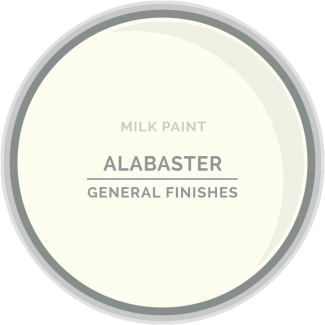
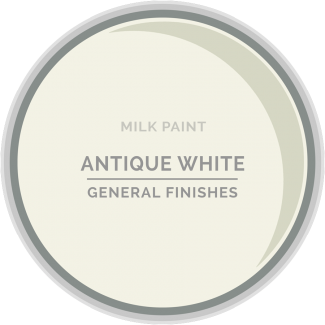
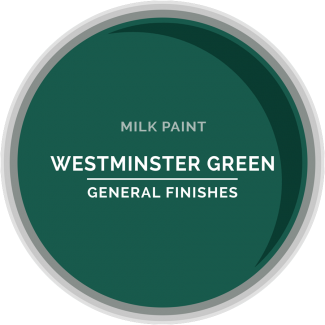
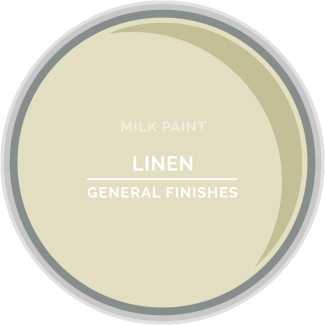
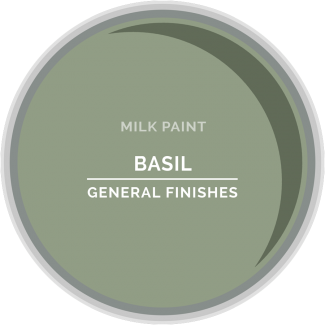
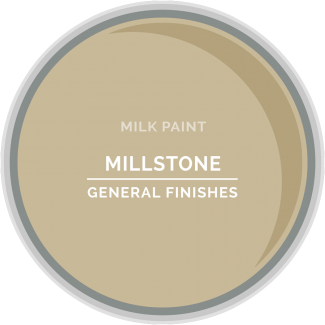
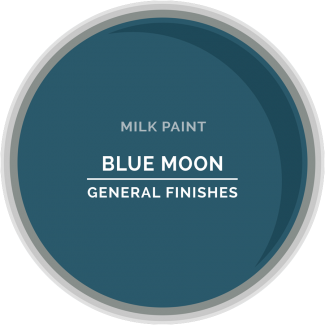
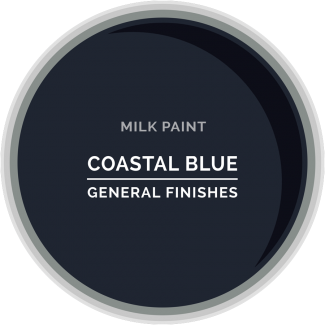
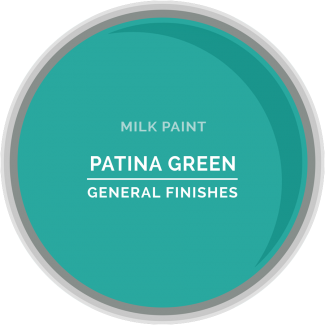
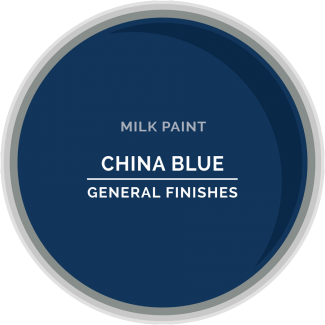
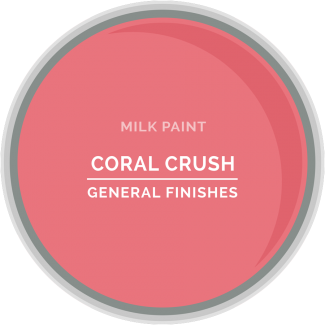
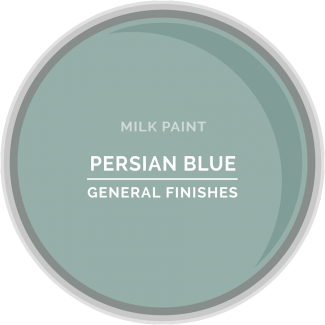
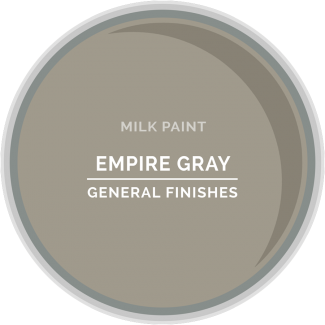
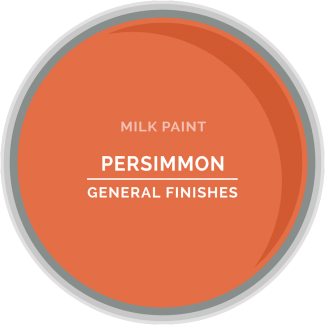
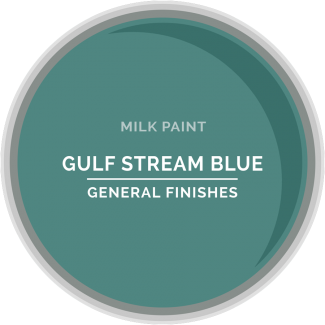
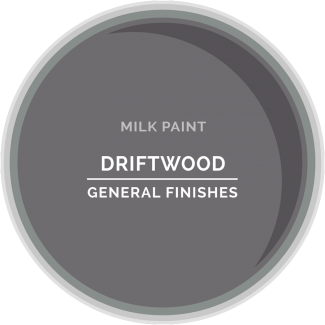
 Milk Paint
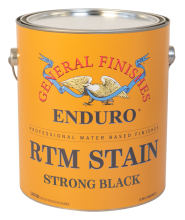 Enduro Ready to Match (RTM) Water Based Stain
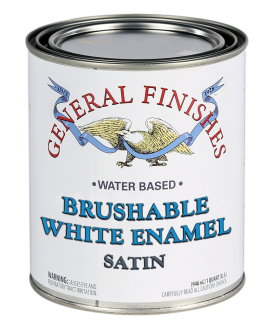
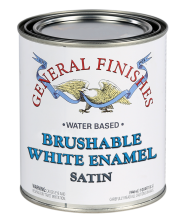 Brushable White Enamel
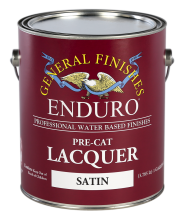 Enduro Pre-Cat Lacquer
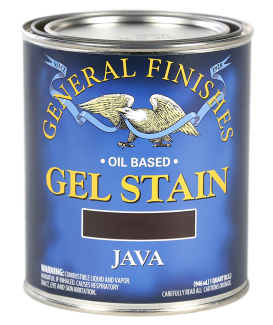
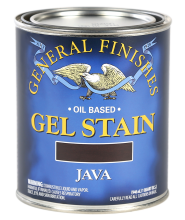 Gel Stains
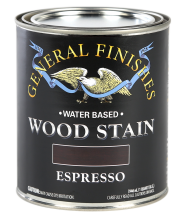 Water Based Wood Stain
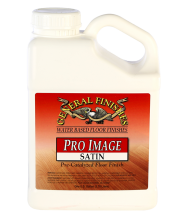 Pro Image Flooring Topcoat
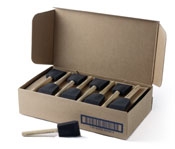 Jen Poly Brushes
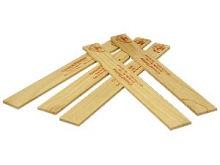 Stir Stix
 Ultraflex Softback Sanding Sponge

Before applying paint, all raw wood projects require preparation sanding, and all existing finishes require prep cleaning and sanding. If you skip this critical step, your finish may fail.
Preparation for Raw Wood Projects
See our video: How to Prep Sand Raw Wood
- Sanding schedule: 120-grit sandpaper followed by 150-grit. Do not over-sand with fine-grit sandpapers; this will close and seal the wood grain, preventing ideal color absorption. Do not use steel wool with water-based finishes; the particles will get trapped in the finish and rust.
- Remove dust with a vacuum, compressed air, an oil-free tack cloth or a water-dampened rag.
- Let dry completely before applying General Finishes product.
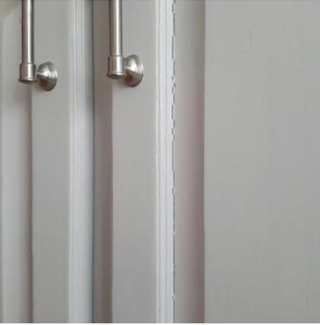
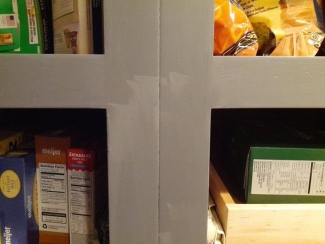
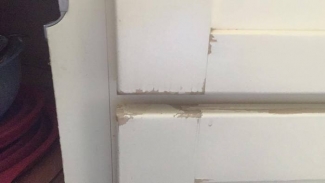
Preparation for Projects with an Existing Finish
For high-use areas with heavy grime build-up and oil from hands, give your project a deeper cleaning.
See our video: How to Prepare Existing Finishes
- Scuff clean with a Scotch Brite™ pad or maroon synthetic steel wool and a 50:50 mix of denatured alcohol and water. Dry 1-2 hours. Avoid cleaning with products containing phosphates (salt), which can linger in the substrate and produce a white haze. If your project requires a deeper cleaning, see Power Prep Cleaning Highly Used Existing Finishes below.
- Sand lightly with a fine-grade (220-320) foam sanding sponge or 400-grit sandpaper.
- Remove dust with a vacuum, compressed air, an oil-free tack cloth or a water-dampened rag.
- Let dry completely before applying General Finishes product.
Power Prep Cleaning Highly Used Existing Finishes
See our video: How to Power Prep Existing High Use Finishes for Stain or Paint
- Scrub clean with a detergent, such as Spic and Span or Dawn, using a Scotch Brite™ pad.
- Rinse well with water.
- Scrub clean with a Scotch Brite™ pad and a 50:50 mix of denatured alcohol and water. Dry 1-2 hours.
- Sand lightly with a fine-grade (220-320) foam sanding pad.
- Remove dust with a vacuum, compressed air, an oil-free tack cloth or a water-dampened rag.
- Let dry completely before applying General Finishes product.
Alternative Cleaning Solutions For Existing Finishes (Not as aggressive or effective as denatured alcohol; requires rinsing.)
- 50:50 mix of bleach and water
- 50:50 mix of vinegar and water
- Mineral spirits can be used when working with water-based products, but only if the surface is thoroughly rinsed and allowed to dry for 72 hours.


 TDS: Milk Paint - 2020-03