Please be mindful of the manner in which water-based products are stored and how long they have been in storage. They not a forever product.
Life of Product
Water-based products do not last forever, even when unopened. General Finishes products are best used within 1 year. However, the life of the product may be extended several more years with proper care and storage (see Storage Tips below).
Water-based products can last 3-5 years if the can is unopened, in good condition and stored in correct temperatures.
Product that is 3 years old will not look like product that is 6 months to 1 year old. You will see more stratification or separation as the product ages. Always stir thoroughly before using.
Foul Smell
If your product has a foul smell, it is contaminated and no longer in useable condition.
Clumps & Settling
Gravity can cause some solids to settle on the bottom of the can and slight separation on the top. This is normal. If working with older product stir with a paint mixing attachment on a drill.
If the solids dissolve and clumps smooth out after mixing from the bottom, the product is in good condition for use.
Inability to reincorporate large, chunky lumps after stirring for several minutes is an indication that the product has frozen and can no longer be used.
Storage Tips
See video tutorial: Tips on Storing Leftover Finishes
Water-based finishes crystalize and form a skin due to evaporation when the air-tight seal on a can is broken at first use. The following best practices will increase the life of your product:
- Pry open sealed lids with a paint can opener by hooking under the lid's rolled edge. The use of a screwdriver can disfigure the rim and lid, impairing a complete seal.
- Keep lid closed while working. Pour what you will use into a bowl, paper cup, or plate, and close can lid as you work.
- Clean the chime of the can thoroughly with a paper towel before closing to create a complete seal. Product falling into the chime can be minimized by using a pouring lid, such as Fitsall. Avoid wiping used brushes on the lid.
- Pound the lid in place using a rubber mallet to avoid distorting the chime or lid. Dents in the lid from direct contact with a hammer can impair a complete seal. Alternatively, place a flat piece of wood over can lid and firmly pound shut.
- Store in moderate temperatures. Avoid temperatures below 50°F/10°C or above 100°F/26°C. Keep from freezing. Frozen and heat-damaged product cannot be revitalized. Temperature-controlled spaces, such as a basement, are ideal for storage. Do not store product in an attic, garage, in direct sunlight, or next to something warm like a water heater or furnace.
- Store can upside down to create a liquid seal, minimize evaporation and reduce the chance of crystallization. Decant remaining product from the can before stirring.
- Decant leftovers to a smaller container when the finish is almost used up. Alternative storage containers for water-based products are plastic FIFO bottles or glass bottles. Do not fill metal-lidded containers completely to prevent them from rusting.
The following water-based product mixtures can be stored:
- Product thinned with up to 15% General Finishes Extender or General Finishes Accelerator can be stored, with the exception of thinned General Finishes Water Based Wood Stain.
- Mixtures involving colors & sheens within the same product line, such as:
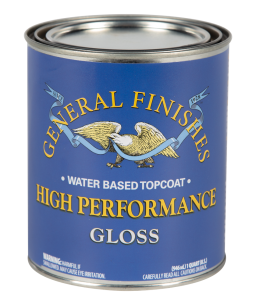
- High Performance Satin + High Performance Gloss
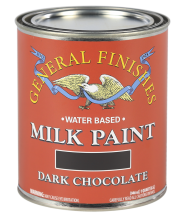
- Snow White Milk Paint + Coastal Blue Milk Paint
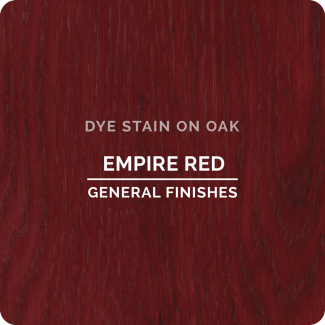
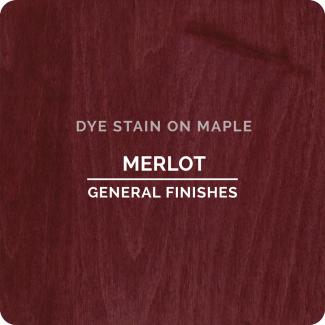
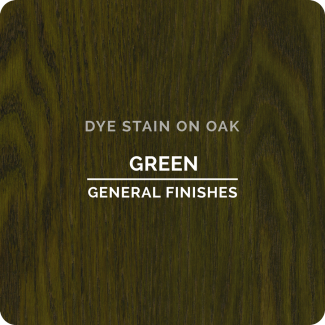
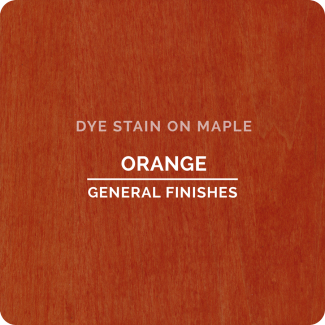
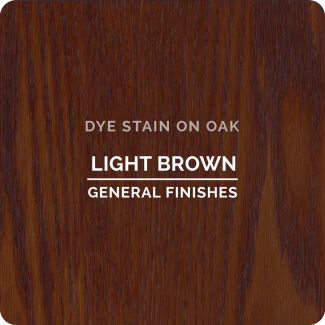
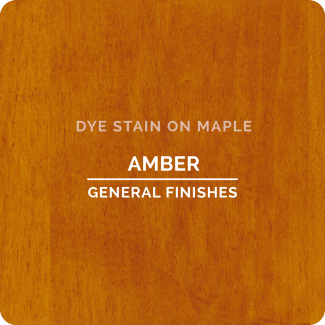
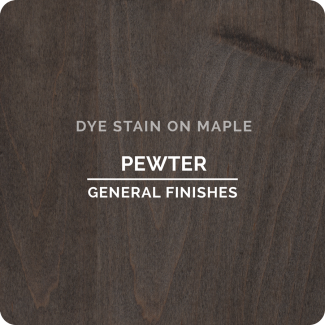
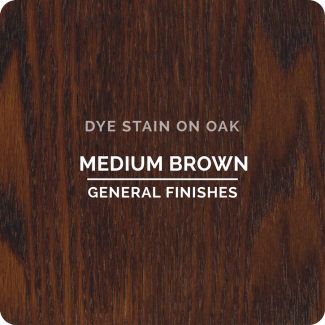
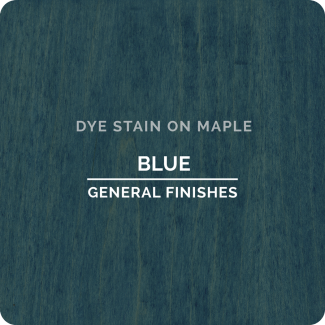
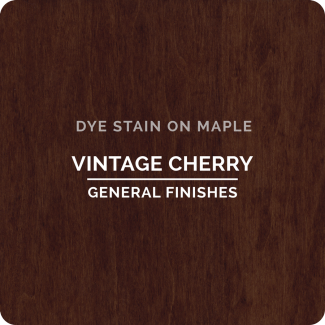
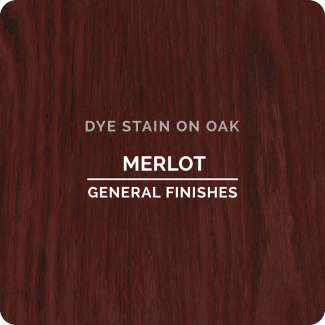
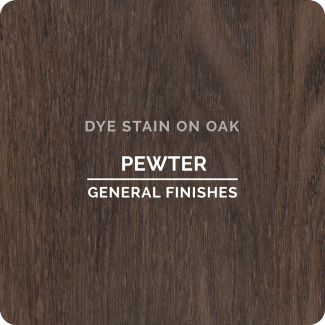
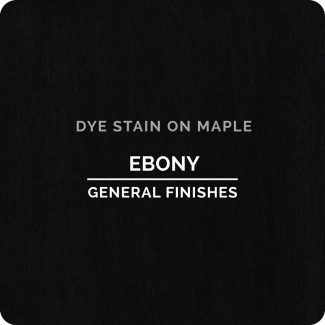
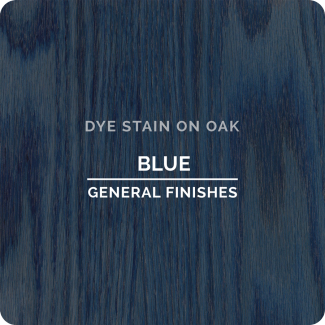
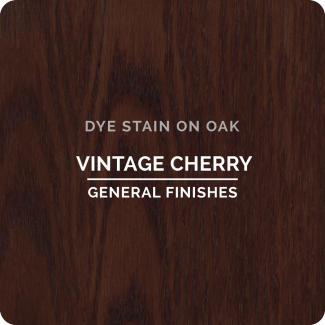
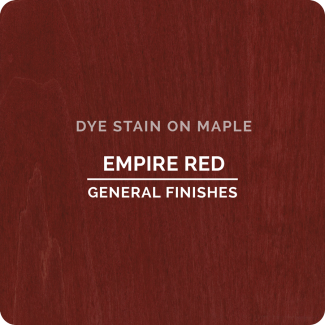
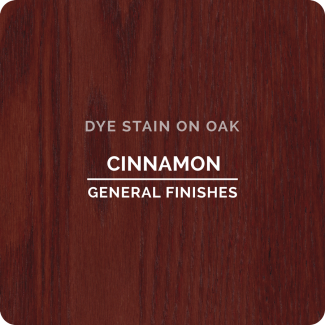
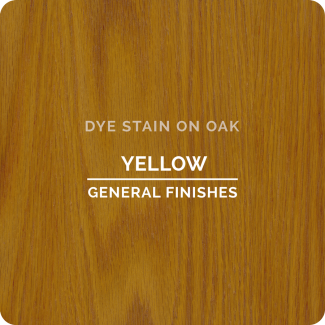
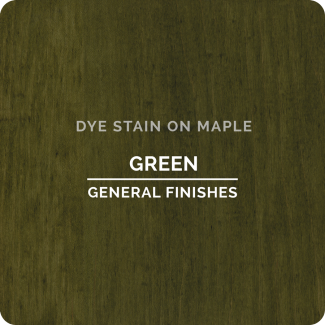
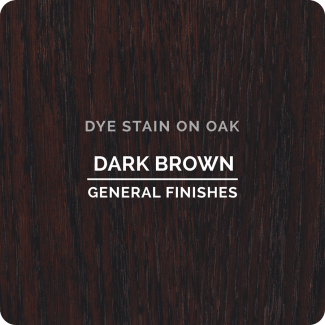
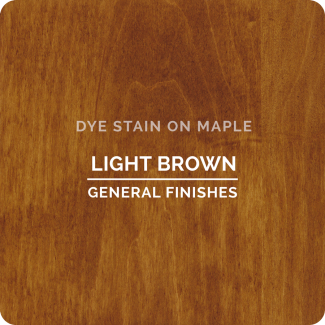
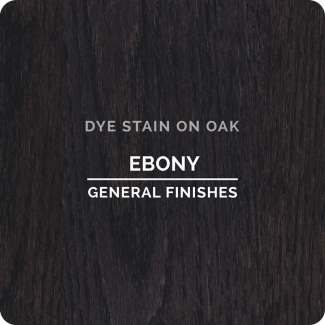
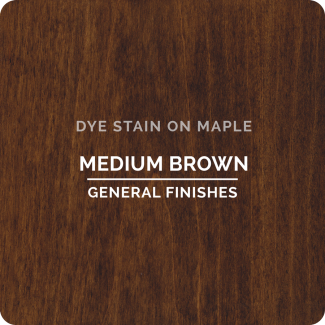
- Amber Dye Stain + Merlot Dye Stain
The following product mixtures should NOT be stored:
- Any water based product with thinned tap water; water often contains bacteria that will adversely affect stored paint.
- Topcoat + Stain or Paint
- Milk Paint + Chalk Style Paint
- Water Based Wood Stain + Dye Stain
 Milk Paint
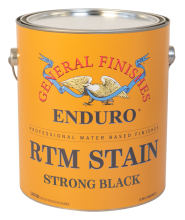 Enduro Ready to Match (RTM) Water Based Stain
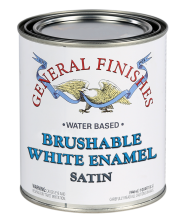 Brushable White Enamel
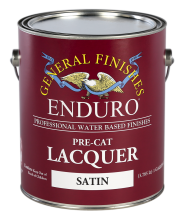 Enduro Pre-Cat Lacquer
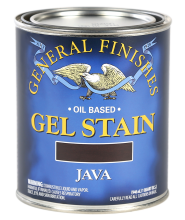 Gel Stains
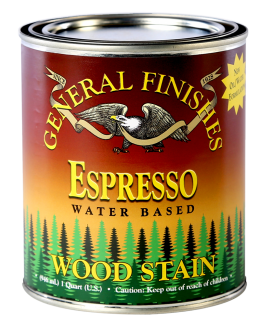
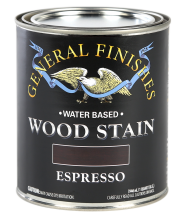 Water Based Wood Stain
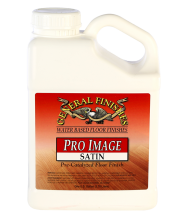 Pro Image Flooring Topcoat
 Jen Poly Brushes
 Stir Stix
 Ultraflex Softback Sanding Sponge


 TDS: Dye Stain - 2020-03